So you may have checked out my latest post on preparing for my 4th Elimination Diet! If not, I recommend heading over there first. Through that post, I explain a little bit of background on my experiences, and a high-level overview of how I plan to think about meal-planning throughout the entire first month.
Here, I wanted to break down just the first week of meal planning to give you even more guidance on how to be prepared and have food you’re excited to eat!
Keep in mind, changing your diet (especially after the holidays) can be hard. Our bodies and minds get “attached” or even “addicted” to certain things we ingest, such as the chemicals in cheese, candy/sugar, alcohol, caffeine, etc. Removing these things from your diet can definitely be uncomfortable at first. It will take a lot of mental stamina and willpower to get through the elimination diet, so planning ahead is a helpful tool to stay on track and motivated without getting discouraged.
If you do drink a lot of alcohol or caffeine, it’s always a good idea to think about weaning off slowly, rather than shocking your system which can cause symptoms of withdrawal, such as headaches, anxiety, or trouble sleeping. Not to worry though! Within just a week of following the elimination diet, I promise you’ll be feeling much better and sleeping better than ever before!
For my first week, I am planning to support my follicular hormonal phase, focusing on foods such as oats, broccoli, lettuce, zucchini, peas, carrots, artichoke, avocado, grapefruit, oranges, plums, chicken, eggs.
Below are more details on some of the recipes I plan to include during week 1.
Instant Oats with Fresh Berries
I have been using Trader Joe’s Gluten Free oats for years. They’re the only oats I buy. Oats are a great easy recipe for breakfast, lunch, and even a quick snack if you’re feeling really hungry.
Ingredients:
– Trader Joe’s Gluten-Free Oats
– Trader Joe’s Hempseed
– Trader Joe’s Flaxseed
– Cinnamon
– Brown Sugar or Maple Syrup
– Almond Milk (optional)
– Fresh Fruit
Method:
To make a quick bowl of instant oats, heat water to a boil, then add to 1-1.5 cups of dry oats. Mix in your favorite nut butter (if you’re eating nuts), flaxseed, hempseed, a dash of cinnamon, a little bit of brown sugar or maple syrup (make sure the ingredients are elimination approved), and top with a splash of elimination-approved milk of your choice. After all is well-mixed, top with fresh berries such as blueberries, strawberries, raspberries, or apples.
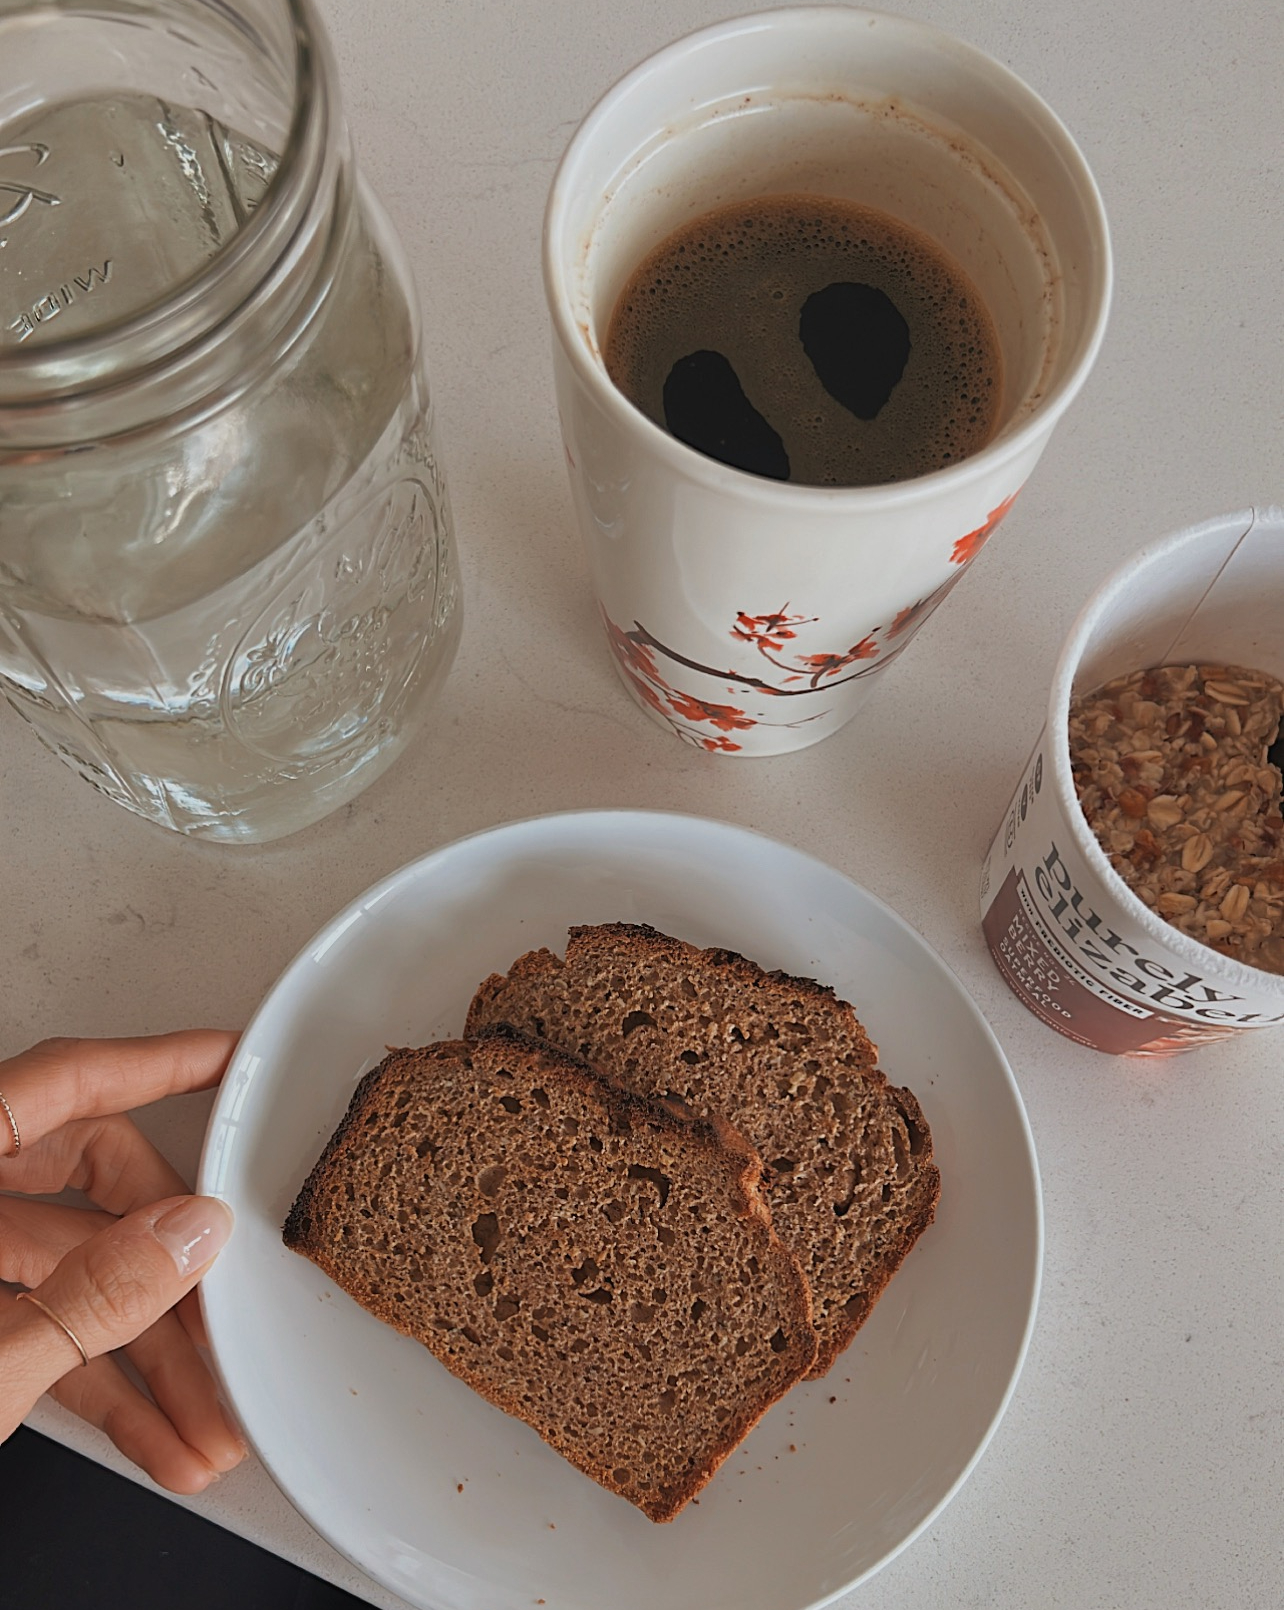
Avocado Toast with Poached Eggs
A go-to easy and hearty breakfast – I love that this fits into the Elimination Diet! My favorite gluten-free bread also happens to be from Trader Joe’s. I won’t buy GF bread anywhere else! Look for the pink package. Whole Foods is also pretty good!
Ingredients:
– Gluten free bread (Trader Joe’s preferred, buy-in store) – or try Whole Foods GF bread
– White Vinegar
– Avocado
– Eggs
– Salt, Pepper, Red Pepper Flakes (optional)
Method:
1. Toast your bread in the toaster, set aside.
2. Bring water to a boil, and add a splash of white vinegar. Allow water to return to a boil.
3. Crack your eggs into lightly boiling water. You don’t want the water to be boiling too vigorously; gently twirl a knife or spoon in the water to make the egg whites circulate and come together (the vinegar helps with this).
4. Set a timer for 3 minutes.
5. While the eggs are cooking, and toast is toasting, prepare your avocado mash. Mash up a ripe avocado with salt, pepper, and crushed red pepper flakes.
6. When the toast is done, spread the avocado mash evenly onto the toast.
7. When the egg timer goes off, gently remove the eggs from the water. I have found a straining tool helps with this. Set the wet eggs on a plate covered with paper towel to allow to dry slightly.
8. When ready, gently move the eggs atop the avocado toast and enjoy!
Follicular Smoothie
Another super easy breakfast idea as long as you have a blender! Obviously, you can add lots of things to a smoothie. This one supports the Follicular Phase. Feel free to follow me on Instagram and check out my hormone highlight for more hormone-balancing tips. You can also check out the list of hormonal-balancing foods here. I’ll plan to share ideas for other hormonal-supporting smoothie recipes later in the experience.
Ingredients:
– 1 scoop vanilla protein (I like this one)
– 1 handful fresh spinach
– 1/2 avocado (or 1-2 tablespoons cashew butter)
– 1/2 cup frozen cooked zucchini
– 2 tablespoons ground flaxseed
– 1 1/2 cups unsweetened cashew (or other nut) milk + 1/2 cup filtered water (or all water if not eating nuts)
Method:
Layer all your ingredients into the blender and mix until well combined. Be sure to cook the zucchini before freezing it, and I recommend fresh spinach over frozen. You can also add 1/2 a banana to this recipe if you want it to be sweeter, and especially if you’re not using any kind of milk. I try to write all my recipes without bananas since they don’t sit well with me, personally. But the consistency and sweetness would be good here. Also an option to swirl in a spoonful of plain coconut yogurt (for a probiotic boost, and more creaminess) and top with an elimination approved granola for a crunch!
Chicken Salad
Salads are going to be your best friend for easy lunches or dinners, so I hope you’re excited. The key is finding a great salad dressing you’re excited about. I actually tend to really enjoy just sticking to oil and vinegar with salt and pepper. You can even mix your own spices such as garlic for an added taste. If you want a pre-made dressing, Garlic Expressions contains sugar, but it’s cane sugar, not artificial, so it’s not totally EA, but not too bad. Some other store-bought dressings as options include Tessemae’s dressings, Primal Kitchen dressings, and other condiments.
Ingredients:
– chicken breast (cooked)
– salad greens of choice
– cherry tomatoes
– purple onion, dices
– cucumber, chopped
– apples, chopped
– dates, chopped
Method:
Combine everything layered into a big salad bowl and toss well with your dressing of choice! The sweetness from the dates pairs perfectly with the tart of the apple and the spiciness of the onion – even just a simple oil and vinegar goes well for this salad.
Chicken and Veggies
Speaking of EA condiments, you may want to try the barbecue sauce or Sir Kinsington’s buffalo ranch – these are great for veggies and meat if you want to add something extra for flavor. Again, in the spirit of keeping it simple – I plan to devour a lot of just plain meat and veggies, especially for dinner. Here is how I prepare my chicken and veggies to keep it clean and healthy and easy!
Ingredients:
– raw chicken breast
– raw or frozen broccoli
– fresh zucchini
– fresh sweet potato
– rice (optional)
– salt, pepper, Trader Joe’s EBTB seasoning
– condiments of choice
Method:
Wash and cut the sweet potato and zucchini into small bite size pieces. Toss in olive oil with salt, pepper, and everything but the bagel seasoning and place evenly spread on a baking sheet. Bake in the oven at 400 degrees for 20-30 minutes until veggies are tender and cooked through. While the veggies are cooking, bring a pot of water to boil for the chicken. Place raw chicken breasts into the water and boil for ~13 minutes for one breast, adding 1-2 minutes per additional breast. Remove from water and use a meat thermometer to ensure meat is cooked to 165 degrees. Cut or shred the chicken, and season with salt and pepper. Plate the veggies and chicken with rice, or skip the grains. Use additional EBTB seasoning, as desired, or enjoy the chicken and veggies with an EA condiment of your choosing.
Grapefruit Brûlée
You may think you need some fancy kitchen tools to pull off a grapefruit brule, but it ca be done with a broiler in the oven. Grapefruit is sweet and full of vitamins so perfect for a yummy, nutritious dessert or snack during the Elimination Diet and your Follicular Phase.
Ingredients:
– Grapefruit
– Brown sugar
– Sea Salt
Method:
Cut each grapefruit crosswise, and cut a thin slice off the bottom of each half so that the pieces sit flat on a surface. You can remove all seeds from the grapefruit, and loosen the segments with a paring knife for easier enjoyment after processing. I don’t always do this step, but it is helpful. Next, sprinkle each half evenly with the sugar, than place in the oven under the broiler for 3-5 minutes until the sugar is melted and golden brown. The surface should look crispy! Sprinkle the hot sugar with the salt, and serve immediately. Yum!
These are intended to just be a few recipes to get you started! Let me know what questions you have, or what other recipes from the high-level overview you’d like to see! Follow along on my Instagram for more tips along the way.
Leave a Reply